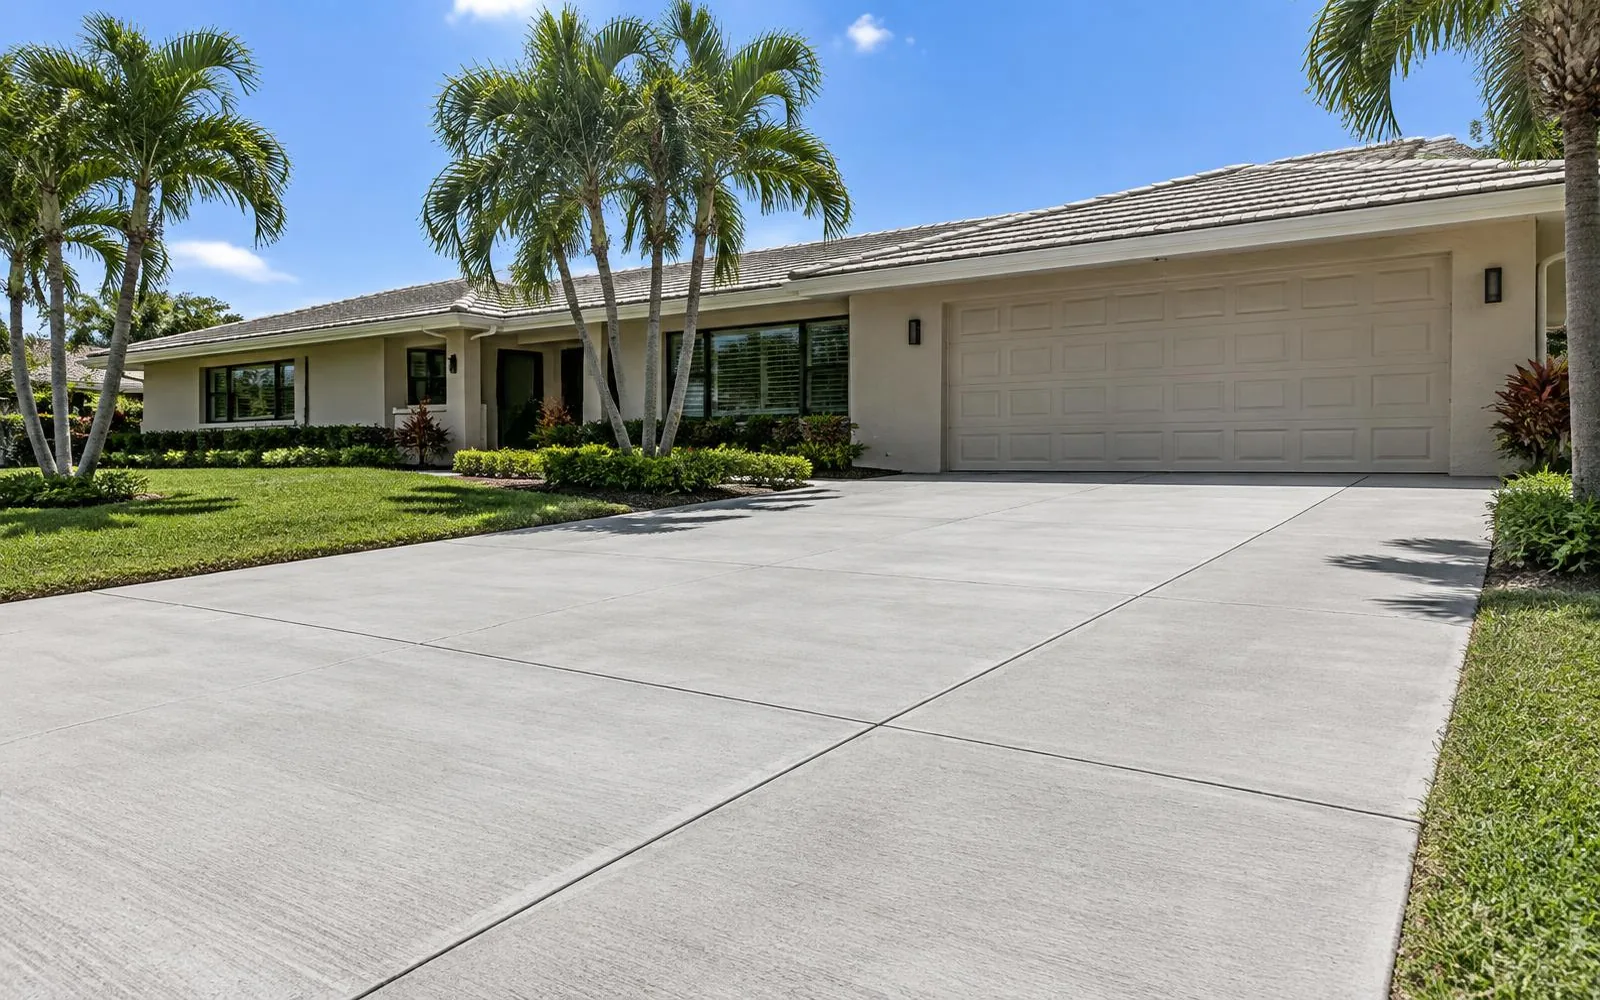
A new concrete driveway is mostly about what you can't see. The finished surface looks simple, but its lifespan depends on the ground underneath, the thickness of the slab, the reinforcement inside it, the way the joints are placed and how carefully it cures. In Pembroke Pines, where the ground is flat, sandy and often near a high water table, and where summer storms can dump inches of rain at once, those details matter even more. This page walks through each step so you know what to ask your contractor and what a good installation looks like.
Step 1: Site Preparation in Pembroke Pines
Installation starts with layout and excavation. Your contractor marks the driveway's footprint, checks property lines and setbacks against your survey, and confirms where the driveway meets the street, sidewalk and swale. Grass, roots, topsoil and any organic material are removed, because organic soil compresses over time and leaves voids under the slab.
The excavated area is then graded to establish the final slope. On many Pembroke Pines lots this means carefully shaping the subgrade so the finished driveway drains toward the street or swale instead of toward the garage. If there's an existing driveway, it's demolished and hauled away first. See our page on driveway tear-out and replacement for what that involves.
Step 2: A Compacted Base
The base is the foundation of the driveway. Most installations place a layer of compacted fill or crushed rock (often limerock in South Florida) over the native soil. The material is spread in lifts and compacted with a plate compactor or roller until it's firm and uniform. A properly compacted base spreads the weight of vehicles evenly and prevents the soft spots that cause slabs to sink or crack later.
Ask your contractor how deep the base will be and how they'll compact it. Skimping here is one of the most common reasons driveways fail early.
Step 3: Choosing the Right Thickness
Thickness determines how much load the slab can carry. For most homes:
- 4 inches is the typical thickness for driveways that see passenger cars, SUVs and light pickup trucks.
- 5 to 6 inches is common if you park heavier vehicles, such as a work truck, a box truck, an RV or a boat on a trailer, or if delivery trucks regularly pull in.
Contractors often thicken the edges and the apron where the driveway meets the street, because those areas take the most stress from turning wheels. Each added inch increases the concrete volume and cost, so it's worth matching thickness to how you actually use the driveway.
Step 4: Reinforcement. Fiber Mesh vs. Rebar
Concrete is strong in compression but weak in tension, so reinforcement helps it resist cracking and hold together when it does crack.
Fiber mesh
Synthetic fibers are mixed directly into the concrete. They're distributed throughout the slab and help control small plastic shrinkage cracks that form as fresh concrete dries. Fiber is inexpensive and is widely used in residential driveways.
Rebar or welded wire
Steel rebar laid in a grid, or welded wire mesh, adds structural strength. If the slab cracks, the steel keeps the pieces from separating or shifting vertically. For steel to work, it has to sit in the middle of the slab on supports ("chairs"), not lie on the ground. Rebar is a good idea for thicker slabs, heavier vehicles or areas with questionable soil.
Many Pembroke Pines contractors use a combination of fiber in the mix plus steel where loads are heavier. Ask what's included in your quote.
New Driveway Cost Calculator
Low estimate
$3,000
High estimate
$4,800
This is an estimated range. Your contractor will give a written quote.
These are general ranges only. Permits, HOA requirements, site conditions and design details can change the price.
Step 5: Control Joints
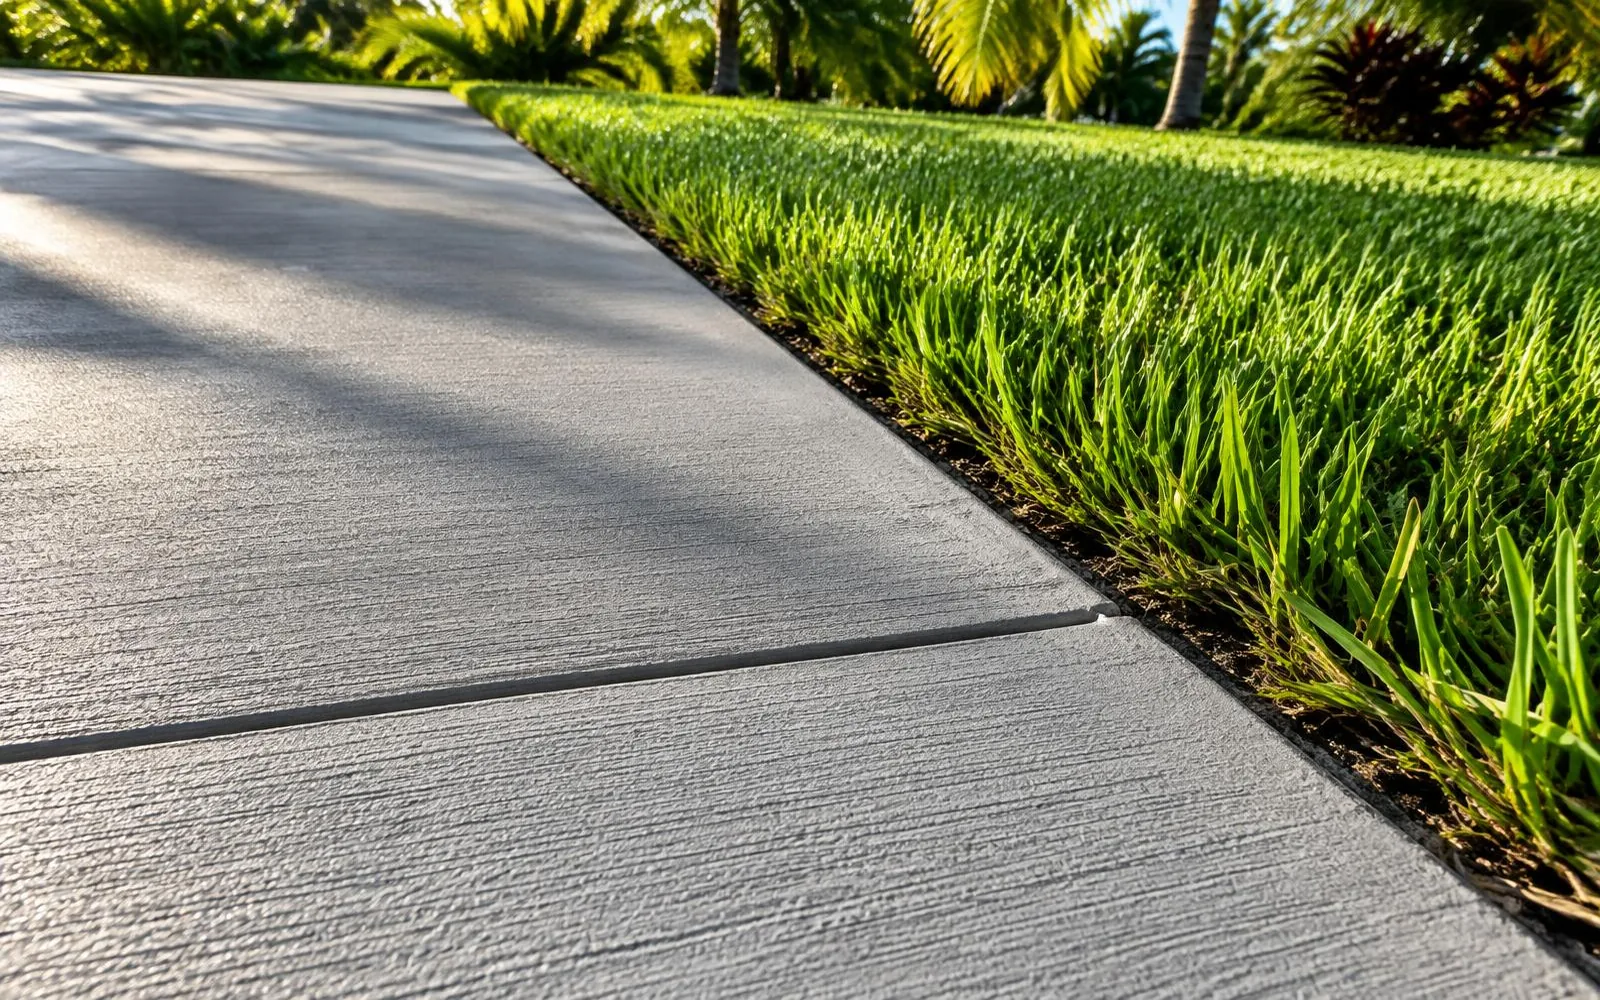
Every concrete slab shrinks as it cures and expands and contracts with temperature swings. Control joints are deliberate weak lines, tooled into the wet concrete or saw-cut within a day, that give cracks a straight path to follow. Spacing is typically no more than about two to three times the slab thickness in feet, so a 4-inch slab usually has joints roughly every 8 to 12 feet, with panels kept as close to square as possible. Expansion or isolation joints are also placed where the driveway meets the garage slab, sidewalk and other fixed structures.
Step 6: Slope for Drainage
With heavy afternoon storms and flat terrain, drainage is critical in Pembroke Pines. A driveway should slope away from the house. A common target is roughly 1% to 2%, or about 1/8 to 1/4 inch of fall per foot. The forms are set to this grade before the pour, and the finishers screed the concrete to match. A well-sloped driveway sheds water quickly, keeps it out of the garage and avoids the puddles that encourage mildew and algae.
Step 7: Pouring and the Broom Finish
Ready-mix concrete is delivered by truck and placed into the forms, then screeded flat, floated and edged. For driveways, the final step is usually a broom finish: a stiff broom is pulled across the surface to create fine ridges that improve traction when wet. In a rainy climate, that grip matters for both cars and people. If you prefer a decorative look, options like stamping, coloring or exposed aggregate are covered on our stamped and decorative concrete driveways page.
Step 8: Curing Time
Concrete gains strength through a chemical reaction that continues for weeks. Keeping the surface from drying too fast, especially in Pembroke Pines heat, improves strength and reduces surface cracking. Contractors may use curing compounds or keep the slab moist. General timelines:
- 24 to 48 hours: light foot traffic is usually OK.
- About 7 days: passenger cars can typically drive and park on it.
- About 28 days: the concrete reaches its design strength; keep heavy trucks off until then.
Wait until the concrete has cured before applying a sealer; your contractor can tell you when it's ready.
Permits, HOAs and Budget
New driveways in Pembroke Pines require a city permit, and many HOAs require architectural approval before work begins. Our Pembroke Pines driveway permit guide explains the city's checklist. For pricing, plain broom-finish concrete generally runs about $5 to $8 per square foot, with many standard installs between $6 and $16 per square foot depending on thickness, reinforcement and finish. See the full concrete driveway cost guide for Pembroke Pines and try the calculator.
Questions to Ask Concrete Driveway Contractors
- Are you licensed, and will you pull the permit?
- How deep is the base, and how will it be compacted?
- What thickness and reinforcement are included?
- Where will control joints go, and how will the driveway slope?
- How will the concrete be cured, and when can I seal it?
- Is everything included in a written quote?
Concrete Driveway Installation FAQs
How thick should a new driveway be in Pembroke Pines?
Four inches is typical for passenger cars and light trucks. Five to six inches is recommended if you park heavier vehicles, a work truck, an RV or a boat trailer on the driveway.
Should I use fiber mesh or rebar?
Fiber mesh helps control small surface shrinkage cracks and is common in residential driveways. Rebar or welded wire adds structural strength and helps hold cracked sections together. Many contractors use fiber in the mix plus steel where heavier loads are expected. Ask your contractor what they recommend for your soil and vehicles.
When can I drive on my new concrete driveway?
You can usually walk on it after 24 to 48 hours and drive a passenger car on it after about 7 days. Concrete reaches its design strength at roughly 28 days, so keep heavy trucks off until then.
Will my new driveway crack?
Some hairline cracking is normal for concrete. Properly spaced control joints, a well-compacted base and good curing keep cracks in the joints where they're barely noticeable.
Does a new driveway need a permit in Pembroke Pines?
Yes, the City of Pembroke Pines requires a permit for driveways. Most licensed contractors pull it for you.